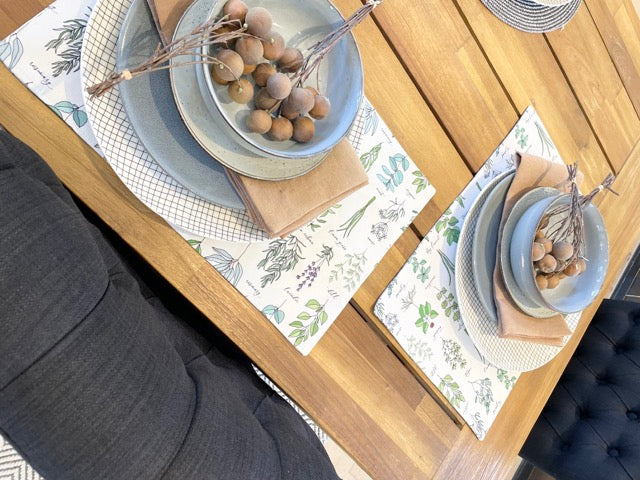
Make your own placemats

What is needed to make 4 double sided placemats:
- 1m Canvas
- 1m buckram or heavy interfacing
- Coordinating thread
- Jean/denim needles
- Scissors/rotary cutter
- Iron for pressing
If you back these with a solid, you’ll get 9 placemats out of the 1m of printed canvas! You can use solid drill or any other solid or blender woven.
Print used for this tutorial: Herbivore
Method:
Step 1:
Measure your placemats and cut a front and back. Add buckram interfacing at slightly smaller size to reduce bulk.

Step 2:
Pin two layers RST, one interfaced. Sew at 1cm seam allowance, ensuring you capture the interfacing and leave a 5-8cm turning hole.

Step 3:
Clip your corners without cutting the stitches.

Step 4:
Gently turn out the placemat through the turning hole.
Note: Before turning out, press a memory crease, to make your finishing neater when closing your turning hole.


Step 5:
Use a blunt, pointed object such as a screw driver or chopstick to push the corners out, ensuring they're pushed all the way out to create a corner.

Step 6:
Press, again ensuring the corners are pushed all the way out.

Step 7:
Top stitch at 1/2cm allowance, ensuring to back stitch at the start and beginning. Using a hump jumper can help keep these lines smooth.

You are finished!
These placemats make a great gift or something to dress up your own dining table!

~ By Lauren Sinderberry

